Immersive Companion Guide
June 9th, 2026
Overview
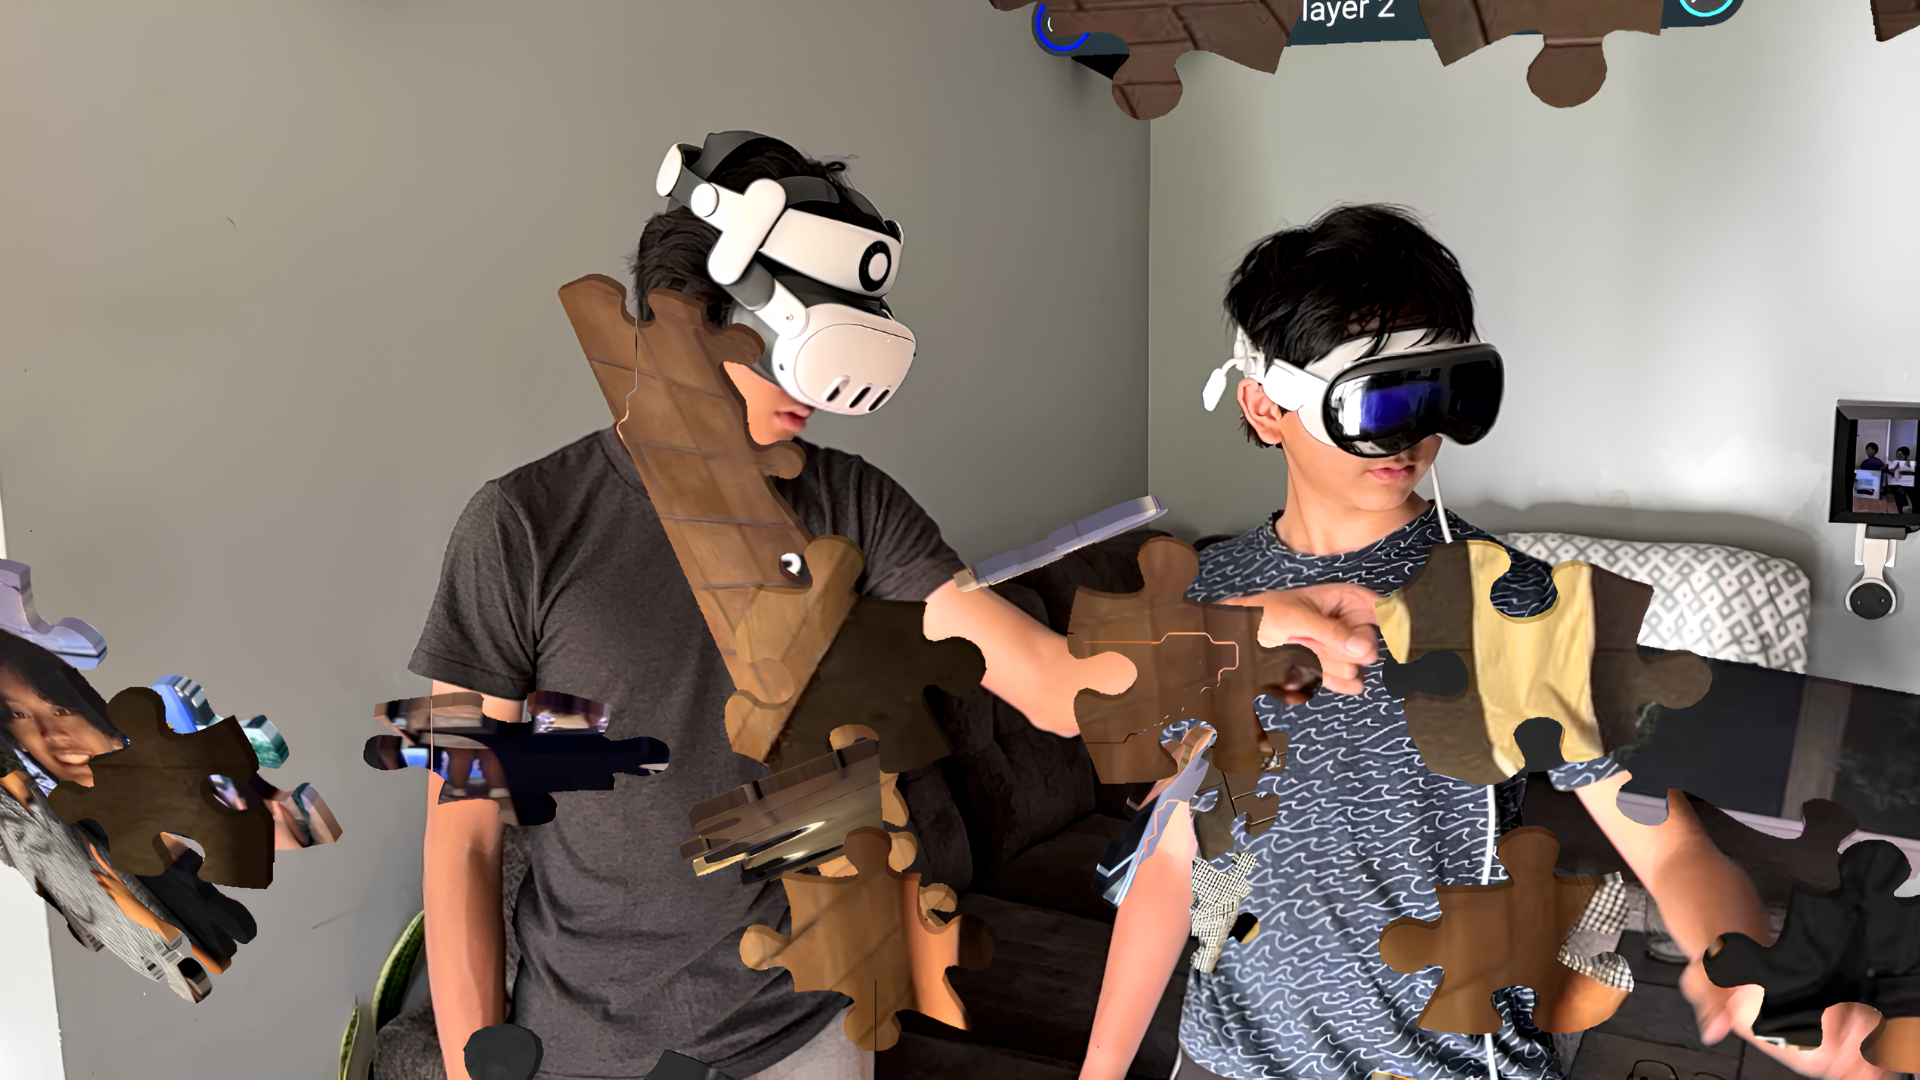
The Jigsaw Night Immersive Companion acts as a gameplay client that can interact with and participate in puzzle building for Jigsaw Night on the Meta Quest.
It features the same full spatial grabbing and interaction capabilities of the original game, allowing cross-play between Apple Vision Pro and Meta Quest in a casual familiar family activity.
Tutorials to Practice
As an immersive companion, full puzzle save and resume is not available at this time.
However, the single-player gameplay experience of Jigsaw Night is available through the Sample Puzzle button, which spawns small puzzles to help players become familiar with the controls, interactions, and puzzle piece mechanics.
Use this feature to practice the controls before joining a multiplayer session.
Joining Multiplayer
Before you begin:
Make sure your Apple Vision Pro is connected to the internet.
Make sure your friend is in a Jigsaw Night session on the Meta Quest platform.
Have the room name ready and available.
How to Connect to a Session
Step 1: Join the Room
A. Open the Jigsaw Night app on your Apple Vision Pro.
B. Poke the Multiplayer button.
C. Enter an existing room name.
D. If successful, the Multiplayer screen should refresh with one or more floating avatars appearing around the table.
Step 2: Position the Hub Table
You should have auto-joined at a position rotated around a blue hub table.
This hub table represents the centralized shared world origin. If playing remotely and not in the same room, simply use these calibration options to position your playspace in a comfortable location and then close the menu.
Syncing
For players in the same physical space to play together, the table should be placed in the same physical location and rotation for all connected players. This ensures everyone remains in sync.
Coordination can be adjusted by any player at any time.
There are two ways of syncing:
General Calibration
Precision Calibration
General Calibration is intended to get the hub table into the general vicinity of synchronization. It is the easier calibration method, but will always have some degree of imperfection..
Precision Calibration provides fine-tuned controls that allow the alignment to be adjusted much more accurately when needed.
General Calibration
Hand Synchronization
This method provides general accuracy based on how each headset identifies hand-tracking points. As a result, headsets from different manufacturers can be synchronized for immediate gameplay.
Because this technique relies on one player's headset temporarily tracking another player's hand as its own, it does involve some sleight of hand.
Notes: This procedure can only be performed when two headsets are connected in multiplayer.
Steps
Identify which player will be sharing their world origin. We will refer to them as the “Sender”. The “Receiver” will be the one that receives the new world origin location.
When this operation completes, the receiver’s world origin will change, so if they are already synchronized with other devices, those would need to be re-synced after this is done.The Sender needs to pull up their multiplayer menu, which is a left-tab option from the main menu. If on a Meta Quest headset, they can do this from the mini-menu as well.
Once on this menu, the Sender needs to select the player they want to sync to. In the main menu, the list is at the top-level, but in the mini-menu, they may need to select “Players”, then select the player to sync to.
Near the top of the Player Actions menu, a button should appear that says “Sync Hub using Hand Print”. (In the mini-menu, this option is near the bottom.) Select this.
At this point, both of the Sender’s palms have been replaced with scanning UI with Cancel buttons, and the receiver’s avatar should appear even if set to co-located.
The Sender then needs to hide their own hand and position the receiver’s hand in a logical location that the headset would identify it as their own. The easiest is to stand side-by-side to do this.
The receiving player’s hand should be held in such a place that both headsets recognize it as the respective headset player’s hand, so the ghost outline should be present and properly aligned in view of both players. Then the Sender should tilt their head forward to try to aim at the hand head-on to activate a yellow circular outline. Keep the head and hand still until the operation completes. When it does, the headset should warp to the player, the players should automatically be set to co-located, and the Cancel button should change to “Done”.
If the sync feels too far off, this can be performed again by looking away and looking back to re-activate the procedure.
If the sync feels too far off, this can be performed again by looking away and looking back to re-activate the procedure.
Precision Calibration
For finer precision, use the Precision Calibration tools to adjust the position and rotation of the table.
It is recommended that each player identifies a visually distinct area of the room, such as where two floor panels meet or the edge of a desk, that both players can use as a shared reference point.
Steps
Open the Main Menu and select the Settings tab on the left side of the window.
Select the Multiplayer Hub Anchor sub-tab.
Enable Show Multiplayer Poses to display multiplayer poses and floor alignment axes.
Scroll to the bottom of the page to access the Precision Hub Controls.
Use the controls to adjust the hub position:
Up / Down: Move the hub forward and backward relative to the hub's current orientation.
Left / Right: Move the hub left and right relative to the hub's current orientation.
Corner Rotation Arrows: Adjust the rotation of the table.
Height Buttons: Adjust the table's height.
Adjust the Precision -/+ setting as needed:
Increasing precision causes each adjustment to move by a smaller amount.
Decreasing precision causes each adjustment to move by a larger amount.
Meta Quest Mini-Menu
Meta Quest players can also access these controls through the mini-menu:
Open the mini-menu.
Select MP Hub Controls from either the Main or Multiplayer screen.
Select Precision Controls to open a compact version of the Precision Calibration panel.